
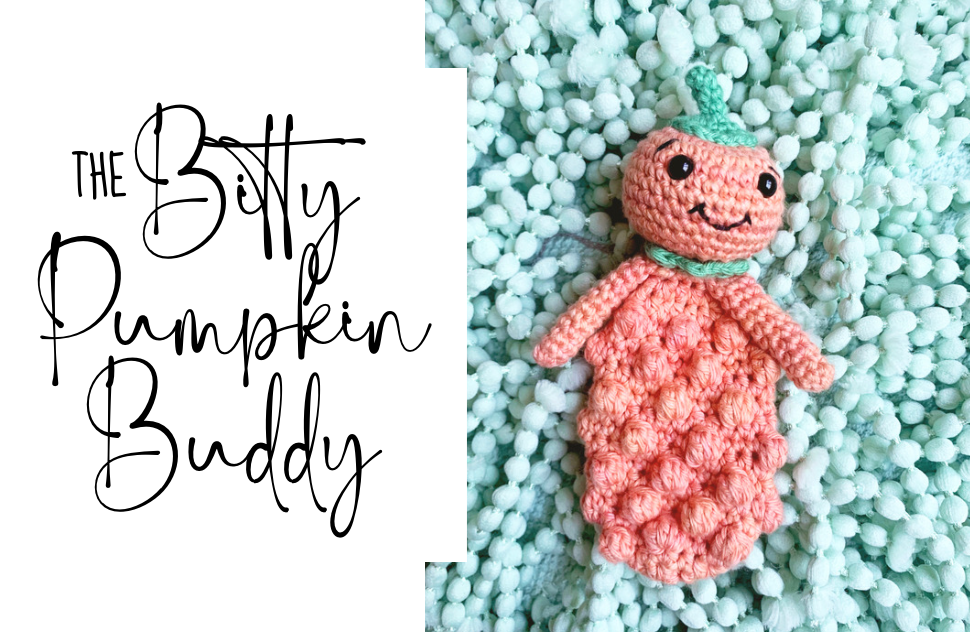
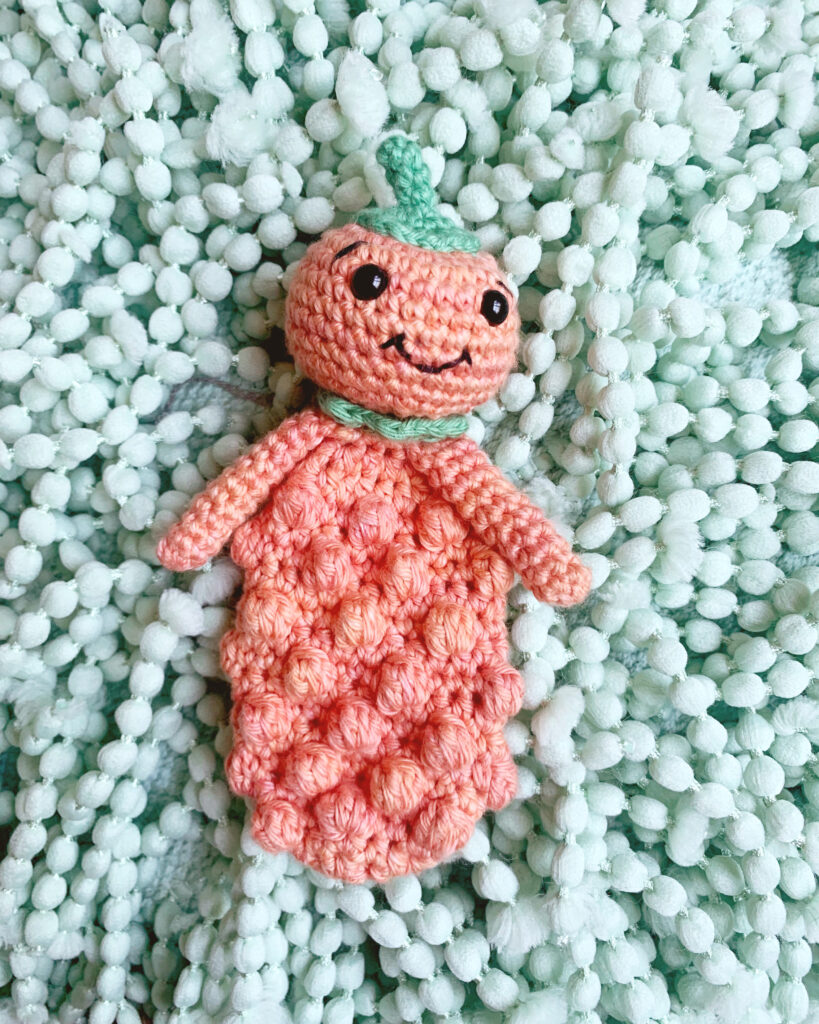
The days might still be toasty but fall is on its way friends! I am always so excited for the shift from summer into fall. Although I love the lazy summer days, family trips, time spent at the pool and all of the other fun that summer brings, fall is by far my favorite time of year. Shifting back into the school routine, cooler days and nights with warm bonfires and all of the holiday fun the fall holds in store! Over the last couple months, free pattern Fridays (and crocheting in general) have taken a back seat because our summer was just SO incredibly busy. However, I am making up for it this month with an extra special free pattern – the Bitty Pumpkin Buddy! Read on to find out how you can grab a FREE PDF COPY of the Bitty Pumpkin Buddy or save on the entire Halloween Bitty Bundle!
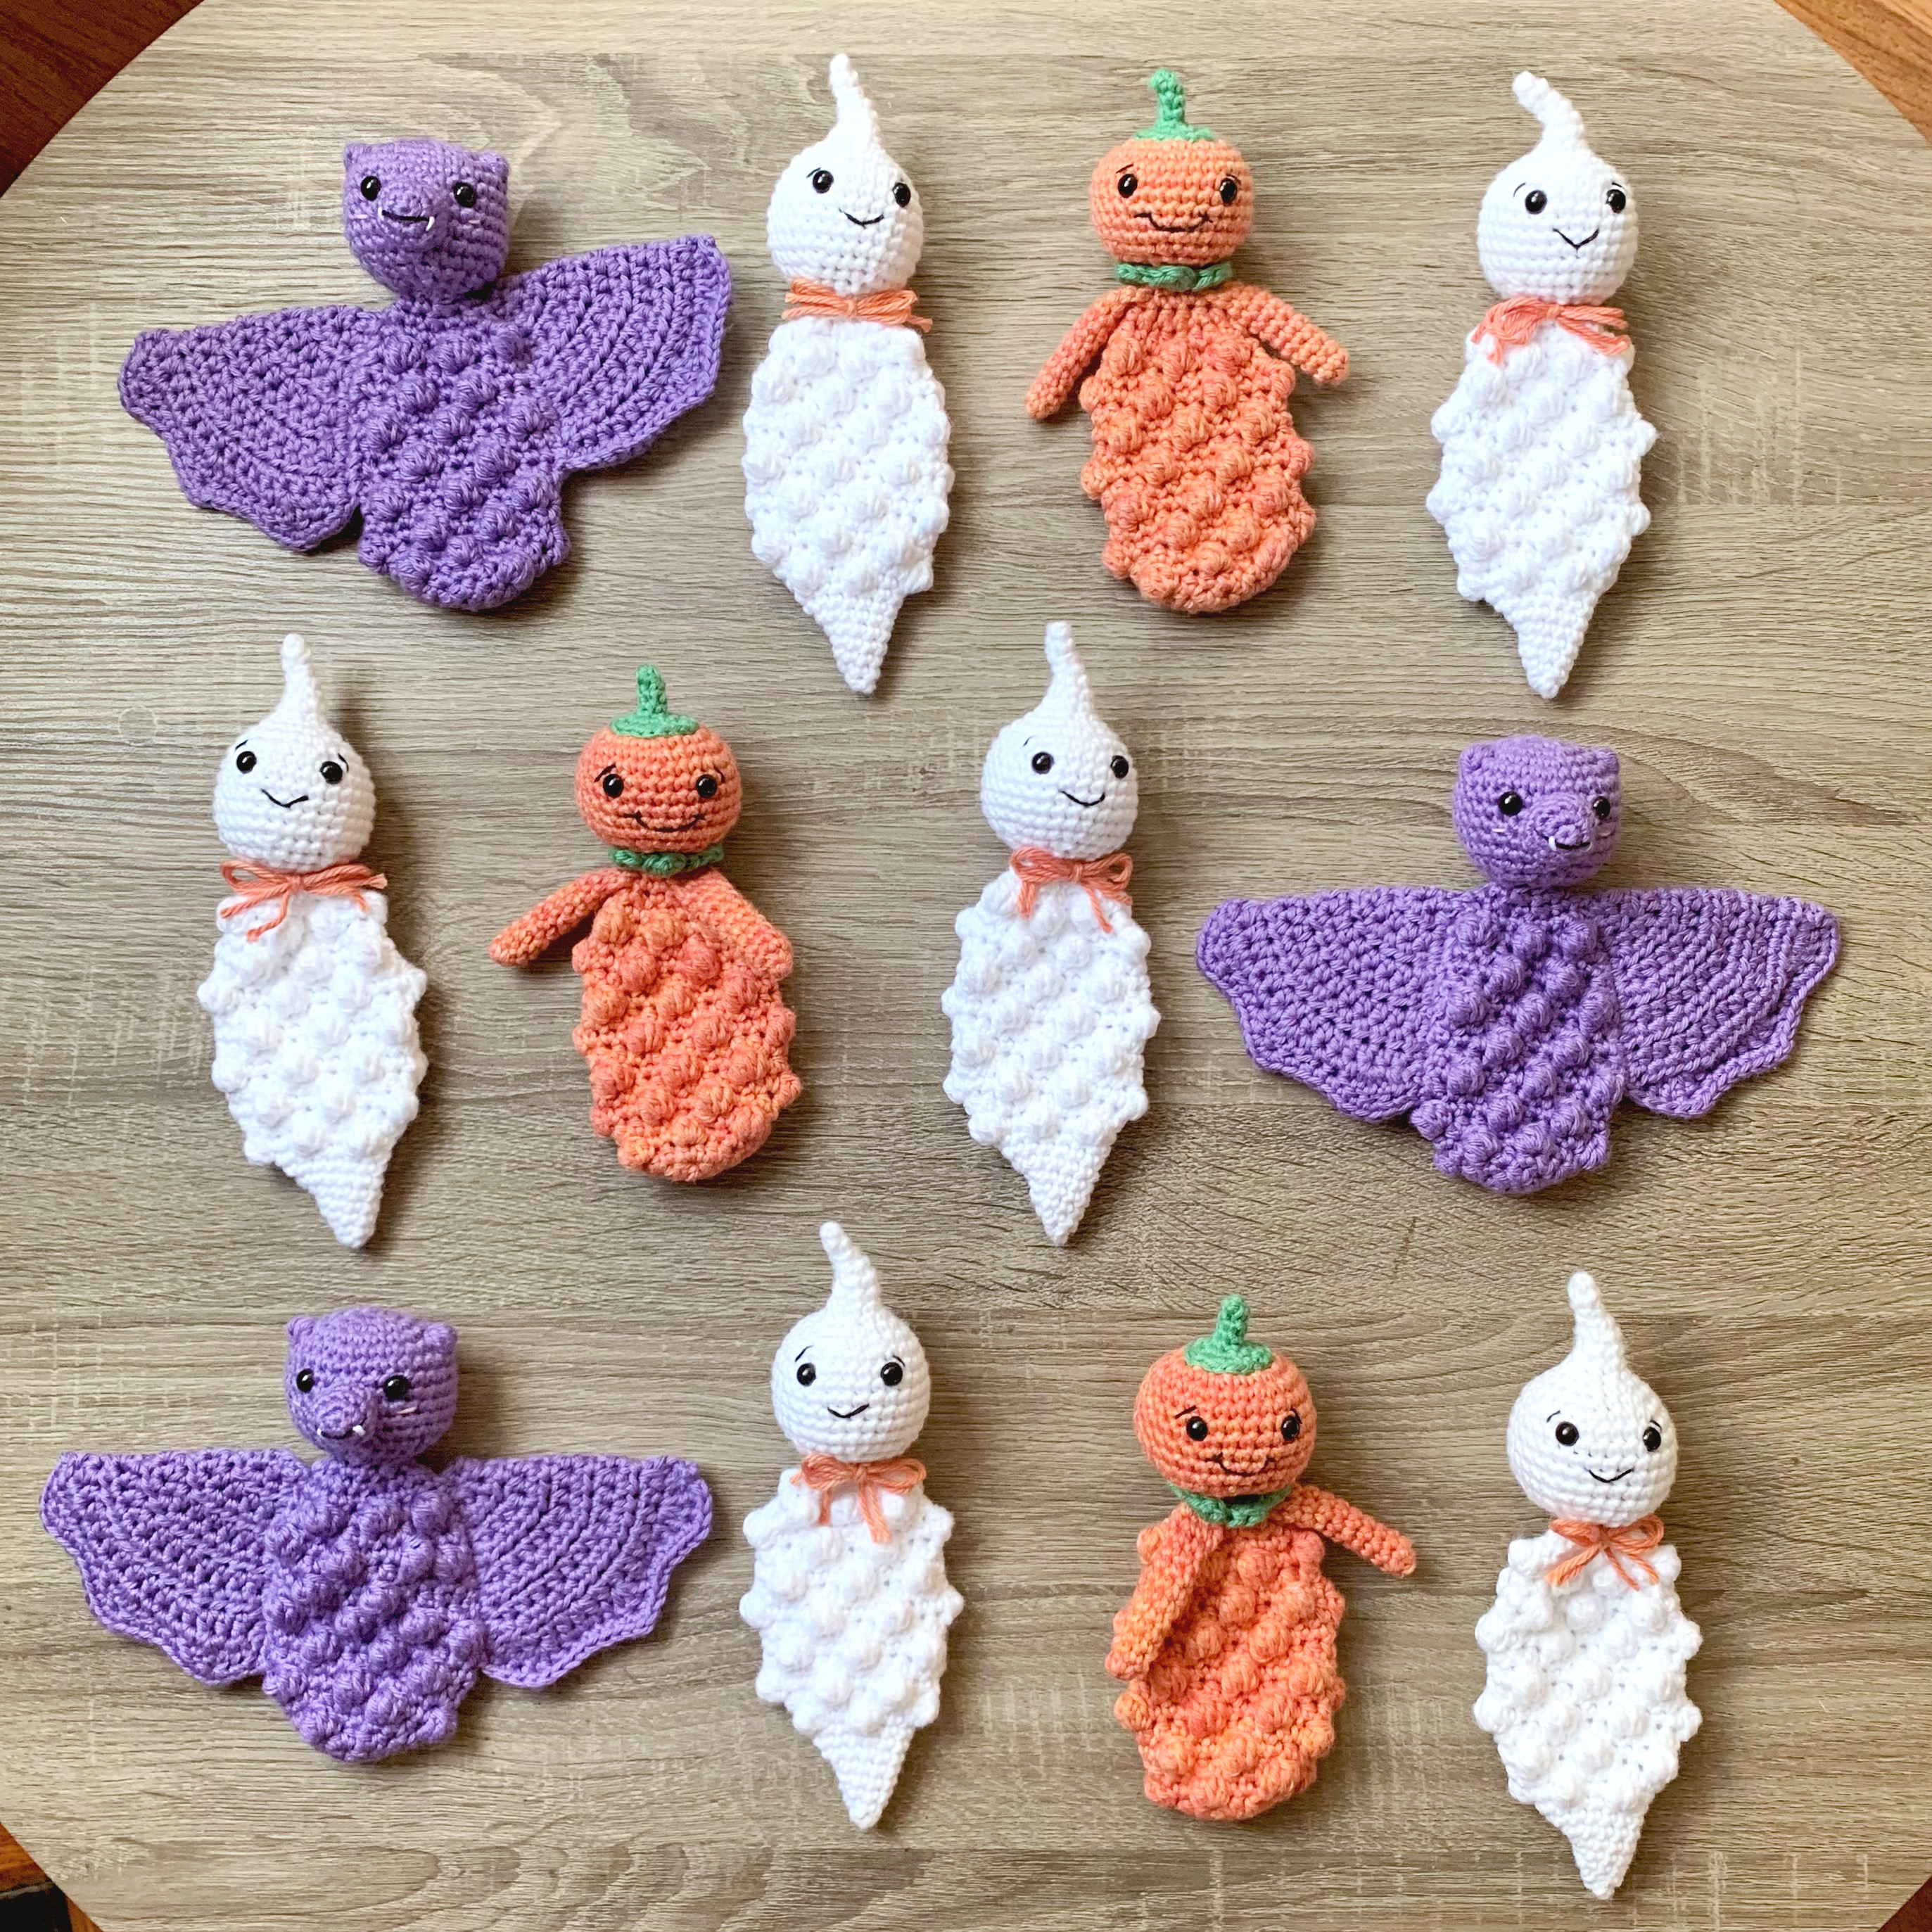
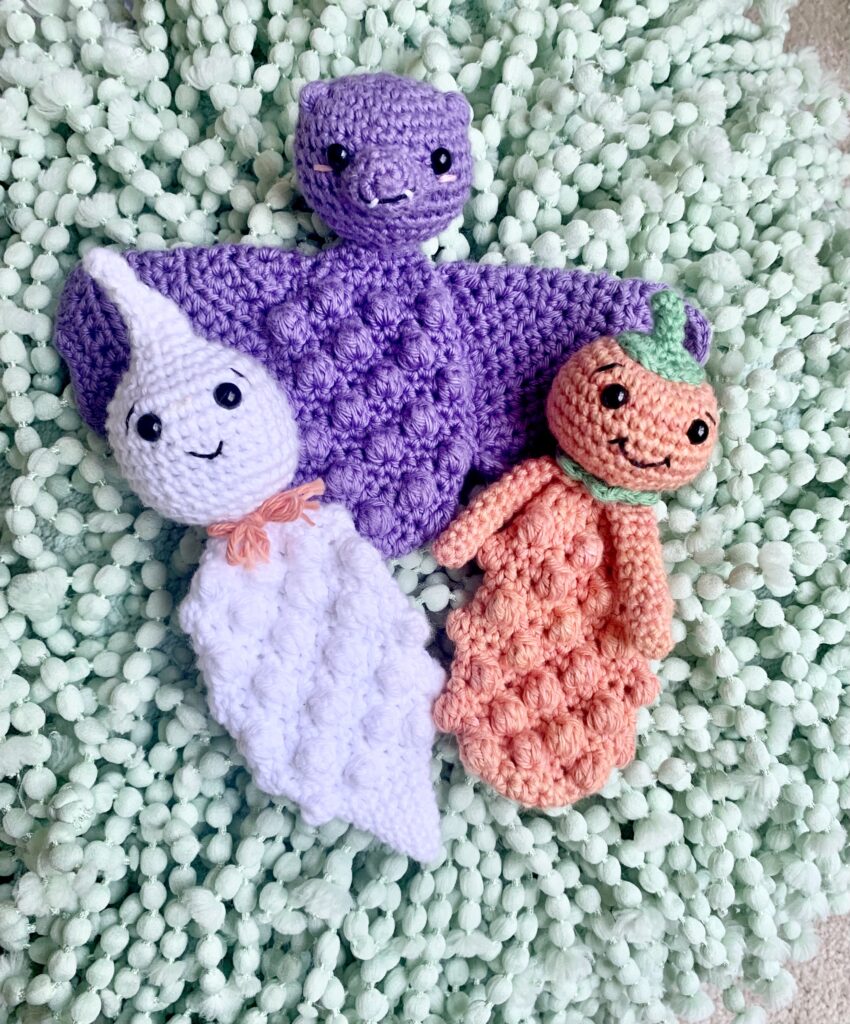
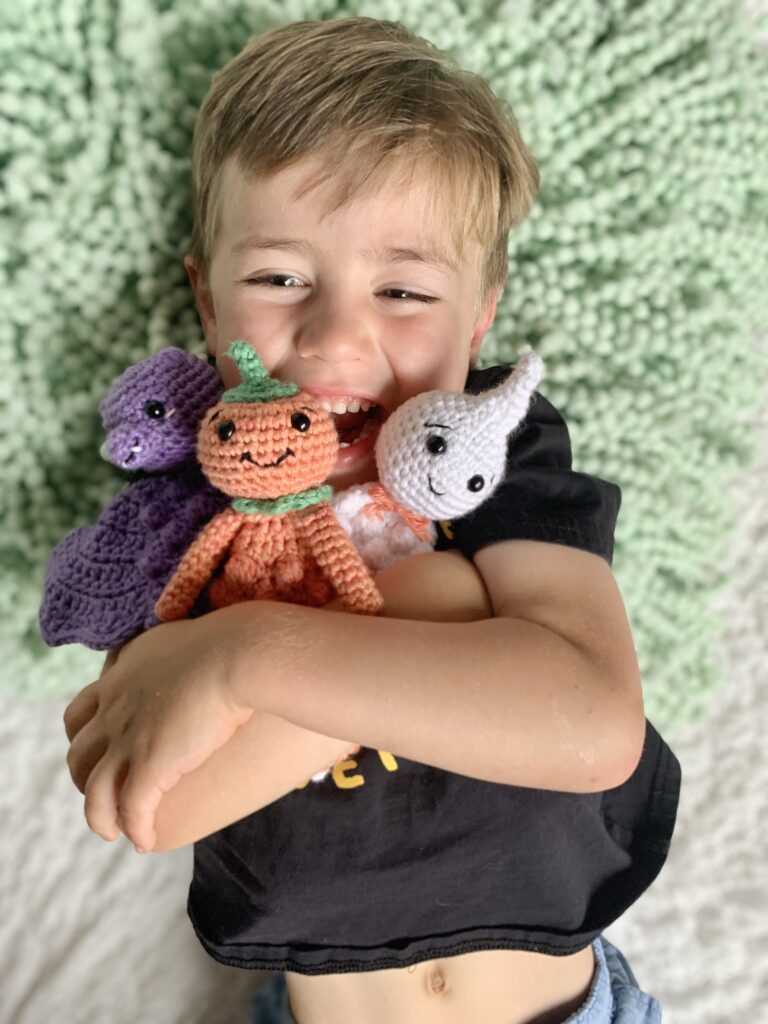
The Halloween Bitty Buddies were created around this time last year and are still one of my favorite pattern bundles. The ghost, pumpkin and bat make up the bundle and just bring so much festivity to the season! Bitties make excellent rattles, teether toys or cuddlies for little hands. My kids love to just collect them and set them out for holiday decor! I’m sharing the free pumpkin pattern below but you can also grab this pattern as part of this year’s Pumpkin Palooza Blog Hop by Crafting for Weeks! I’m thrilled to be apart of this festive blog hop full of so many wonderful designers! To participate, follow the instructions below:

This pattern is free TODAY ONLY (Sept 12th until 11:59pm EST) so go hop along for your free copy!
Missed the free pattern download or looking to purchase the whole bundle? Find the bundle 20% off on Etsy or Ravelry through the end of September!
I love to use 100% cotton yarn to work these up as it makes them extra soft yet strong to hold up through lots of playtime! My favorite yarn to use is Hobby Lobby’s I Love This Yarn given the excellent color selection and the super soft texture. I’ve had a lot of questions about using chunkier yarn for bitty buddies as well. Unfortunately most of the super bulky yarns are just too thick and bulky to work for the bitty buddies. But, I do love using Parfait Chunky to make a super soft, slightly larger bitty buddy! Use a 5.0 mm hook and you may need to elongate the arms 1-2 rounds if you choose this method.
MATERIALS NEEDED:
HOOK(S): 2.75 mm • US size C (head stem) / 4.0 mm • US size G (head, arms and body)
YARN: Worsted Weight; I Love This Cotton Yarn; ~65 yds orange; <1 yd green
NOTIONS: Darning Needle / Embroidery Thread / Measuring Tape / Polyfil Stuffing / Rattle Insert (if desired) / Scissors / Stitch Marker
FINAL SIZE: ~7.5 inches from top to bottom
STITCH ABBREVIATIONS:
SPECIAL STITCHES:
BOBBLE STITCH (bobble):
To make a bobble stitch you will work multiple double crochets into the same stitch.
To begin, yarn over and insert hook into the stitch. Yarn over and draw up a loop. This leaves three loops on your hook. Yarn over and pull through the first two loops (two loops left on hook).
Yarn over, insert hook into the stitch. Yarn over and draw up a loop, leaving four loops on your hook. Yarn over and pull through the first two loops (three loops left on hook).
Yarn over, insert hook into the stitch. Yarn over and draw up a loop, leaving five loops on your hook. Yarn over and pull through the first two loops (four loops left on hook).
Yarn over, insert hook into the stitch. Yarn over and draw up a loop, leaving six loops on your hook. Yarn over and pull through the first two loops (five loops left on hook).
Yarn over and pull through the five loops on the hook. Pull stitch tightly and it will create a bobble. You can choose to make the bobbles on the right or the wrong side of your project, just make sure they are on the outside of the body when finished
DECREASE STITCHES (dec): To decrease stitches, you will sc or hdc 2 stitches together.
INCREASE STITCHES (inc): To increase stitches, you will sc or hdc 2 stitches into the same spot.
PATTERN:
MAKING THE ARMS (MAKE TWO) (Use a 4.0 mm hook)
Round 1: To begin, make a magic circle. Place 6 sc in the magic circle. Do not join. You will continue to work in the round. [6]
Rounds 2-11: sc x 6 around. [6]
Round 12: Pinch the top of the arm together and place 3 sc through each side in order to close off the arm. Cut yarn, tie off and weave in ends. [3]
MAKING THE HEAD (Use a 4.0 mm hook)
Round 1: To begin, make a magic circle. Place 6 sc in the magic circle. Do not join. You will continue to work in the round. [6]
Round 2: [inc] in each st around. [12]
Round 3: [inc, sc] x 6 around. [18]
Round 4: [inc, sc x 2] x 6 around. [24]
Round 5: [inc, sc x 3] x 6 around. [30]
Rounds 6-11: sc x 30 around. [30]
Round 12: [dec, sc x 3] x 6 around. [24]
*Stop here and add facial features. Begin stuffing head firmly.
Round 13: [dec, sc x 2] x 6 around. [18]
Round 14: [dec, sc] x 6 around. [12]
Round 15: [dec] in each st. around. [6]
Leaving a bit of a tail, cut and tie off your yarn. Thread a needle and sew under the front loop of each remaining stitch. Cinch tightly together to close the head. If you want to give your pumpkin a flatter head, push your needle and thread up through the center of the bottom of the head to the center of the top and back through to the bottom. Pull tightly, knot and tie off. This will flatten the head to give it more of a pumpkin shape. Weave in your ends.
ADDING THE FEATURES
- Place 8 mm safety eyes or embroider the eyes between rows 6 and 7 from the top of the head. Safety eyes should be placed 6 stitches apart.
- Add eyebrows at a diagonal above the eye crossing rows 5 and 6.
- Add a small mouth across row 9, centered between the eyes.
Need more help? Check out my You Tube video for instruction on adding the facial features: https://youtu.be/y1SJP5_cKcQ
MAKING THE HEAD STEM (Use a 2.75mm hook)
This piece should be made in your accessory color (green in this example), using a 2.75 mm hook to make the tiny stem. You will then sew this piece to the top of the head of the pumpkin upon finishing.
Round 1: To begin, make a magic circle. Place 4 sc stitches in the magic circle. Do not join. You will continue to work in the round. [4]
Rounds 2-4: sc x 4 around. [4]
Round 5: [inc, sc] x 2 around. [6]
Round 6: [inc] x 6 around. [12]
Round 7: [inc, sc] around. Tie off and attach to the top center of the head. [18]
MAKING THE BODY (Use a 4.0 mm hook)
Stitch counts are included at the end of each round.
Bobble rows include [total # stitches, # bobble stitches].
You will not join at the end of each row. You will continue to work in the round.
For rounds with increases and decreases, the stitch should be consistent within the rounds. Some rounds use sc stitch and some hdc stitch. The type of stitch will always stay the same within a round.
Round 1: To begin, make a magic circle. Place 6 hdc stitches in the magic circle. Do not join. You will continue to work in the round. [6]
Round 2: [inc] x 6 around. [12]
Round 3: [inc, hdc] around. [18]
Round 4: [sc x 2, bobble] x 6. [18, 6 bobbles]
Round 5: [inc, hdc x 2] around. [24]
Round 6: sc x 2, bobble, [sc x 3, bobble] x 5, sc. [24, 6 bobbles]
Round 7: hdc x 24 around. [24]
Round 8: sc, bobble, [sc x 3, bobble] x 5, sc x 2. [24, 6 bobbles]
Round 9: hdc x 24 around. [24]
Round 10: [bobble, sc x 3] x 6. [24, 6 bobbles]
Round 11: hdc x 24 around. [24]
Round 12: [sc x 3, bobble] x 6. [24, 6 bobbles]
Round 13: hdc x 24 around. [24]
Round 14: sc x 2, bobble, [sc x 3, bobble] x 5, sc. [24, 6 bobbles]
Round 15: [hdc x 2, dec] x 6. [18]
Round 16: [sc, bobble, sc] x 6. [18, 6 bobbles]
Round 17: sc x 18 around. [18]
Round 18: [sc, dec] x 6. [12]
At this point, you will add the arms to your pumpkin bitty, to avoid having to sew them in later. Both arms should be closed (as written above) with three stitches across. Add in arms as below:
Round 19: sc x 3. For the next three stitches, place your first arm on the outside of the body and sc x 3 through both the arm and the stitches of the neck. This will attach your first arm. sc x 2. For the next three stitches, place your second arm on the outside of the body and sc x 3 through both the arm and the stitches of the neck. This will attach your second arm. sc x 1 to finish the round. [12]
Round 20: [dec, sc x 2] x 3. [9]
Round 21: sc x 9 around in the back loop only. [9] (See video below if you need help)
Slip stitch to first stitch and then leaving a long tail, cut yarn and tie off. You will use this tail to attach the head to your body, so be sure to leave
a long enough tail.
Adding the Collar:
To add the green collar to your pumpkin, you will return to round 21 where the front loops will be exposed on the outside of your work. Attach your accessory color to one of the front loops and continue as below:
Round 1 [sc x 2, inc] x 3. [12]
Round 2 [sl st, (hdc, dc, hdc) in the same stitch] x 6. Tie off and weave in ends. [24]
If you need more help adding your collar, check out my YouTube video at: https://youtu.be/zayilCZbCm4
And ENJOY! I hope you love your new bitty pumpkin buddy. I would love for you to share your work with me on Ravelry, Facebook or Instagram using #bittybuddies

Thank you for the awesome free pattern, it’s really cute and I love that you’ve made some other Halloween themed ones too. I love them all and I’d really love the chance to get the other two patterns but currently the only way to get them is the bundle of 3 on Ravelry and that includes the pumpkin one I now already have. Will you be looking at listing these other two separately as well please (as the pumpkin one is listed separately)? I really hope you’ll consider it 🙂 as I’d rather buy this way than pay for a bundle when I already own one.
Thanks so much for your time and these fantastic creations. Whilst I’m here I see you’ve made lots of other characters as well, they are all so cute and I love them. I might see if I can make some to donate to charity as I can see them being popular, oh and as I generally make for animal charities is there any chance of a Donkey design or a dog design please? (I don’t think you’ve done these designs already, apologies if you have and I’ve missed them). I mention these two as these would be great for two of my favourite animal charities I love to help out with. Thanks so much for considering my request and I look forward to following the rest of your work 🙂 as I’ve fallen in love with your designs.
Kind Regards
Rosie
Hi Rosie! Thanks so much for your kind words – I am so glad that you love the bitties! I didn’t realize that I don’t have the other Halloween ones listed individually on Ravelry – I am sorry about that! I have them on Etsy but I will remedy that on Ravelry so that you can purchase them individually there 🙂 I love the idea of donating to animal charities!! I do not have a donkey or a dog at the moment – but I do have a dog in the works!! I have a horse bobble buddy pattern (in the bigger form, not the bitty ones) that could possibly serve as a donkey but I will also add that to the list of requests! Thanks again for your kind support. I will work on updating the bitty Ravelry listings this afternoon/evening!
Thank you so much, that’s great. I’ve just checked Ravelry and they aren’t up there yet, I am wondering if life got in the way and it slipped your mind? If so if you can add them soon as I’m hoping to make up the others to before Halloween if my health allows. I understand they are on Etsy but I do prefer Ravelry for my crochet patterns, and its also where the pumpkin one is so makes sense I have them all in the same place. I hope thats OK and thanks again for doing this for me.
Thanks also re looking into my animal requests, I look forward to seeing the dog when your done and the donkey too as I think they’ll make a great donation to two of my favourite charities :-). For the local dog charity I can either see them making a great thing for them to sell on to raise funds or perfect for the dogs themselves (the ones where soft toys would be safe i.e the dogs that cuddle their toys) so I’m excited to make them when they are ready and see how well they go down :-). By the way if you end up needing a pattern tester for them I’d happily help out, I have regularly pattern tested for many designers including lots of Amigurumi patterns. No worries if your sorted for this side of things, just thought I’d mention it given I’d be making them as soon as I could anyway :-).
Thanks again for everything and your super cute designs!
Hi Rosie!
I am so sorry, you are right that I forgot to get the patterns up! I was having trouble with the platform loading the patterns appropriately when I tried and then I got completely sidetracked : / Could you please send me your Ravelry username? I will send you a message through Ravelry.
Thanks so much!
Allie
Thank you Allie 🙂 as I’d love to get a start on them all ASAP. My Ravelry username is Bedcrafter.
Thanks Rosie _ I just sent you a message through Ravelry with the links!