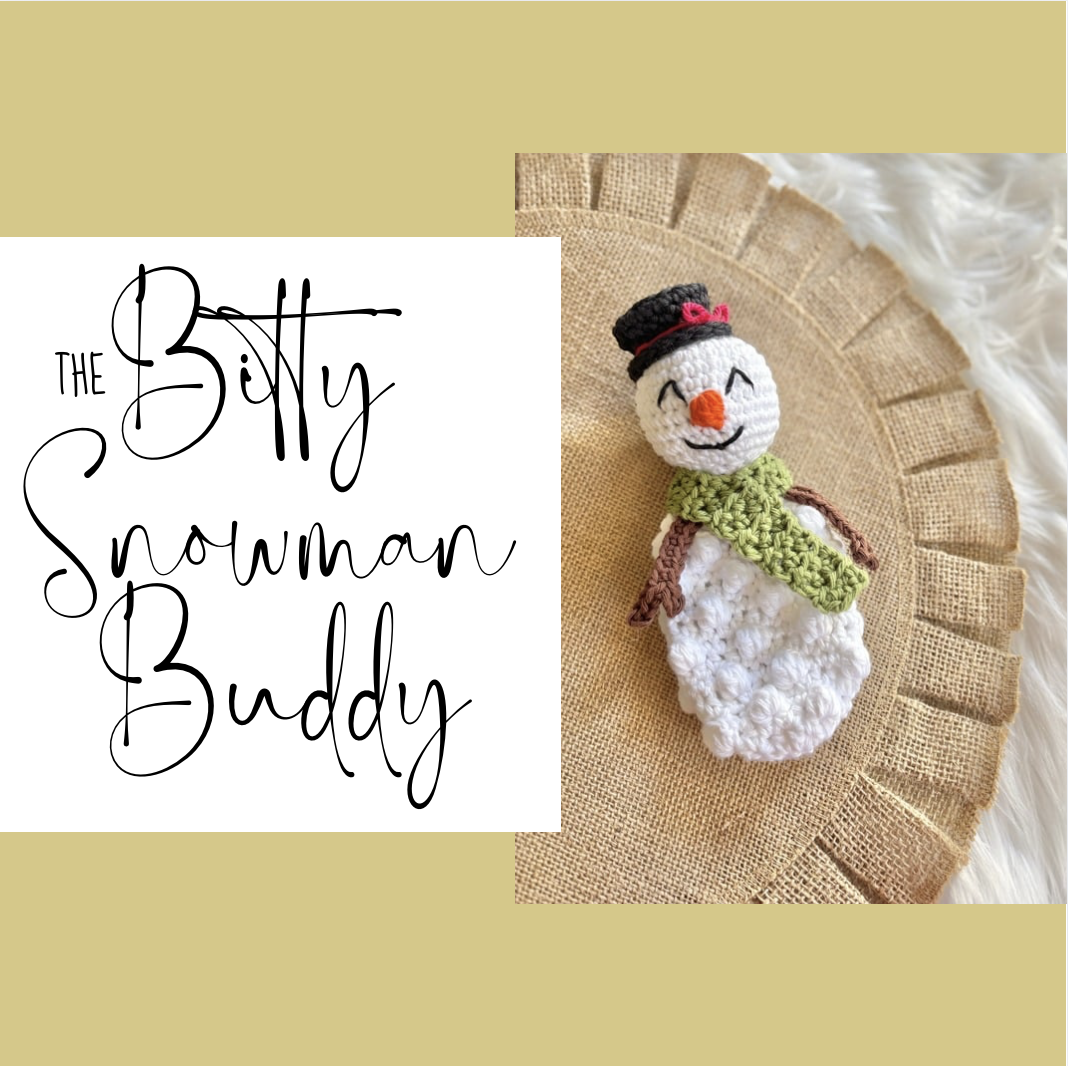
The Tiny Checkered Toboggan: A FREE Checkered Hat Pattern
Everyone loves a favorite stuffy but what makes them even better is being able to accessorize them! Make the perfect winter hat for your favorite buddy with this free checkered hat pattern for the tiny checkered toboggan.

With this free checkered hat tutorial, I’ll show you how to create a tiny checkered toboggan to keep your cuddlies cute and comfy in the winter weather! This free checkered hat pattern is written specifically for Pippin the Penguin, the newest bobble buddy to join the collection. BUT, the size will should fit other dolls and stuffed animals or can be adjusted slightly for smaller or larger noggins 😉
If you are looking to make a new favorite friend, check out the new Pippin pattern! Pippin is a playful penguin looking for the perfect playmate. Pippin is a midi-sized bobble buddy meaning her size is slightly smaller than the OG bobble buddies with fewer bobbles across the body. This means she is a little bit quicker to work up AND can be made in multiple yarn weights! Try worsted for a tiny, classic look or try plush or blanket yarn for a super-sized squishy friend!

You can find Pippin on Etsy or Ravelry. Now, let’s move on to this free checkered hat pattern!
Don’t miss a free pattern! Subscribe to the newsletter to keep up with all the latest.

TEENY CHECKERED TOBOGGAN – BITTY SIZE
MATERIALS
HOOK(S) 4.0 mm • US size G
YARN Weight : Worsted
Hobby Lobby, I Love This Yarn in 2 colors
NOTIONS Scissors // Stitch Marker // Darning Needle // Measuring Tape
FINAL SIZE: Intended for Head Circumference ~12 inches
ABBREVIATIONS
BLO: back loop only
ch: chain
hdc: half double crochet
sc: single crochet
sl st: slip stitch
st(s): stitch(es)
[ ]: repeat instructions within brackets x number
SPECIAL STITCHES
BACK LOOP ONLY (BLO): To crochet in the back loop only, create your chain. Turn to go back across your work. You will notice the chains are in the shape of a “V.” As you go back across your work, place your single crochet stitches in only the back loop of the “V,” rather than through both loops. When you get to the end of your row, chain 1 and turn your work. As you go back across the work, continue to crochet only in the back loop. As you work the rows, you will begin to see they create a ridge-like effect. This will create your brim.
COLOR CHANGES: This pattern uses tapestry crochet to create the checkered pattern on the hat. You will need to carry the alternating color behind the work. If you need help with this technique, check out this tapestry crochet tutorial!
GAUGE
Gauge is important for this pattern so that your hat ends up around the same size as mine! Worsted weight yarn was used for this sample which is intended for the worsted weight sized penguin. If you use a different yarn type (such as bulky or super bulky), make sure you also use the same yarn for your toboggan!
A hat that is too big or small, may not fit your buddy the same way. If you find that your piece is too big, you will need to use a smaller hook size in order to create the intended size. If you find that your piece is too small to meet gauge, you will need to use a larger hook size in creating your hat. *If you prefer, you can also adjust the size of the hat by increasing or decreasing by a count of 8 stitches*
2 inches x 2 inches Square = 8 hdc sts x 5 hdc rows
*Please note, this is meant to fit Pippin the Penguin but exact fit will vary based on how lightly or fully you stuff the head of your buddy!
Visual Learner?
Photo tutorials are included throughout this written pattern. However, if you are a visual learner and prefer a video format, scroll to the bottom for a full video tutorial on YouTube!
CREATING THE BRIM
Use Color A to create the brim.
Row 1: Ch 5. Sc in the second ch and an additional 3 back across. Ch 1 and turn. [4]


Rows 2-40: Sc in the BLO x 4. Ch 1 and turn. [4]

*After working all rows, the length of the brim should measure about 10 inches.

Now, fold your brim in half. Working in the outermost loops of each side of the brim, sc x 4 to connect the two sides and create a circle. Ch 1. You will work across the top of the brim now.


WORKING THE HAT
The first round of the hat is worked in the round in a single color. Subsequent rounds of the hat are worked back and forth in rows alternating colors A and B to create the checkered effect. Working in rows helps prevent the checkers from slanting (although a slight slant is normal).
Round 1: Continuing with color A, ch 1. You should be working on the outside of the brim. Sc x 40 around. Sl st to the first st and ch 1. [40]


Round 2: Continue with Color A. Hdc in the same st as the join and the next 3 stitches.
Now switch to Color B. Hdc in the next 4 stitches.
Continue [hdc x 4 followed by hdc x 4] x 4. At the end of the row, sl st to the first st, ch 1 and turn. [40]


Round 3: Work back across row 1. [hdc x 4, hdc x 4] x 5. At the end of the row, sl st to the first st, ch 1 and turn. [40]


Round 4: *Work in the front v space. [hdc x 4, hdc x 4] x 5. At the end of the row, sl st to the first st, ch 1 and turn. [40]
*Special Note: If you place the hdc sts in the top v of the stitches from round 3, you’ll notice a line appears on the front of your hat. If you’d like to prevent this line, work the hdc sts of round 4 in the front v of the stitches, rather than the top v.


Round 5: [hdc x 4, hdc x 4] x 5. At the end of the row, sl st to the first st, ch 1 and turn. [40]
Round 6: *Work in the front v space. [hdc x 4, hdc x 4] x 5. At the end of the row, sl st to the first st, ch 1 and turn. [40]
Round 7: [hdc x 4, hdc x 4] x 5. At the end of the row, sl st to the first st, ch 1 and turn. [40]
CLOSING THE HAT
Now you are ready to close your hat. Fold the hat in half so that you are working from the right edge of the top of the hat. Now single crochet through both the front and the back sides of the hat in order to seam the two together.
Sc across x 20. When you reach the opposite side, tie off the yarn and weave in ends.


Prefer a video tutorial? Click the image below for a full video tutorial for this tiny toboggan!

That’s it! Now have fun with your new accessory 🙂
If you make this free checkered hat pattern, I’d love for you to share your tiny toboggan! On Instagram, tag me @_stuckonyoucrochet_ OR share on Facebook! Thanks for checking out this free pattern. Stay tuned for more!