
The Retro Circles Granny Square: A FREE Granny Square Pattern!
Did you know July is Hobbii Granny Square month? Let’s celebrate with a treat…a FREE granny square pattern just for you!
If you are unsure what ‘granny square’ means, have no fear. No, it is not a ‘square granny’ it is a simple crochet piece that can be turned into the most beautiful array of projects! A granny square is a crochet form that is worked from the center outwards, typically in a square shape. The different textures, colors and techniques used make granny squares a unique option for crochet projects! Granny squares can be joined together to make blankets, clothing like tops or sweaters, purses or backpacks or even more!
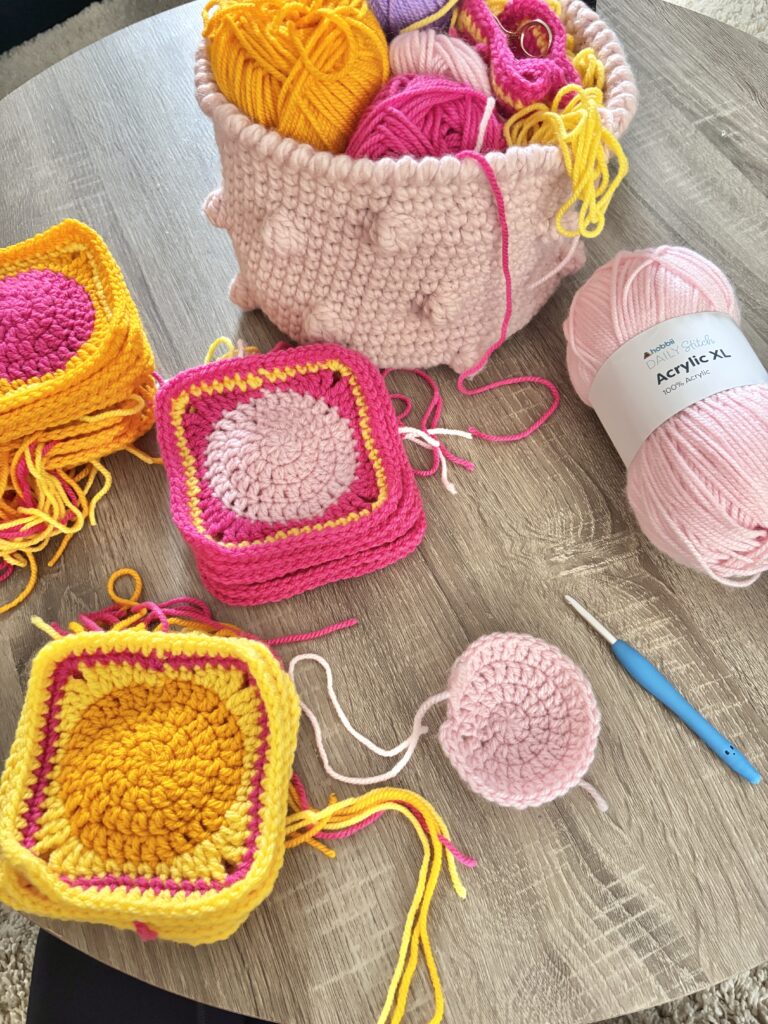
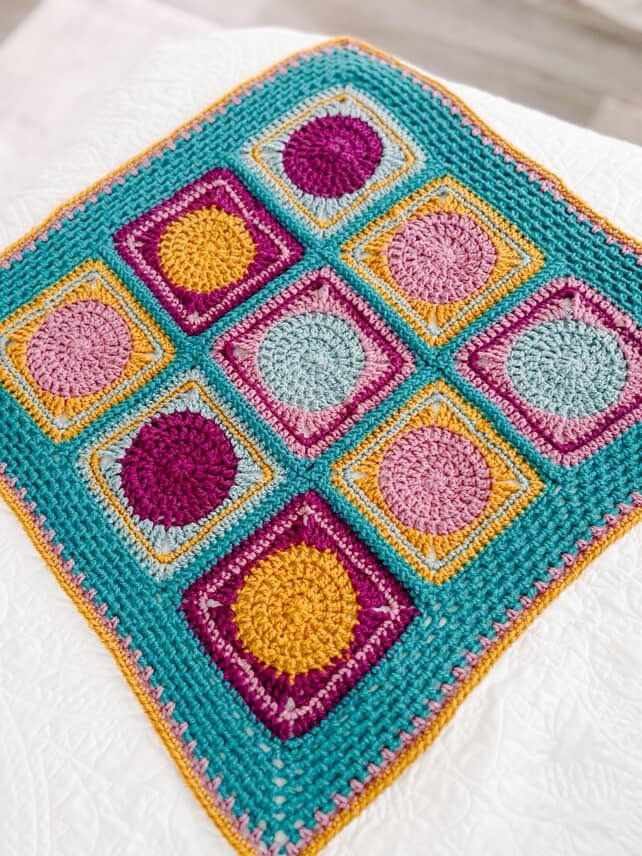
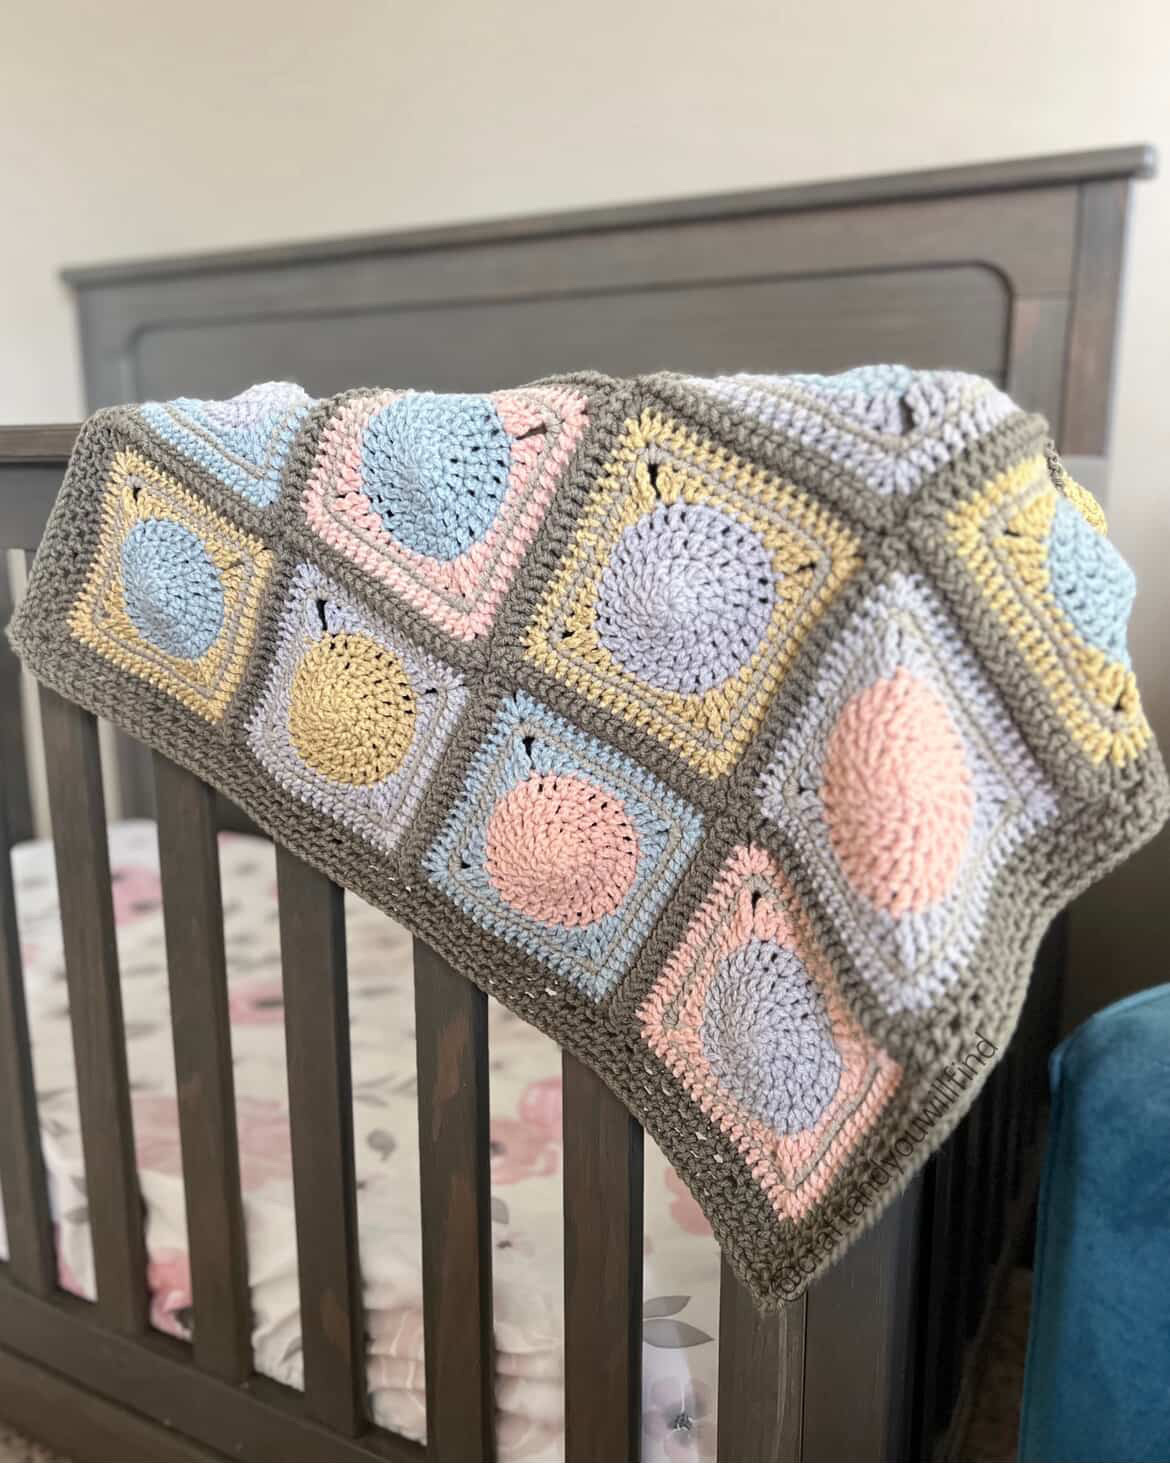
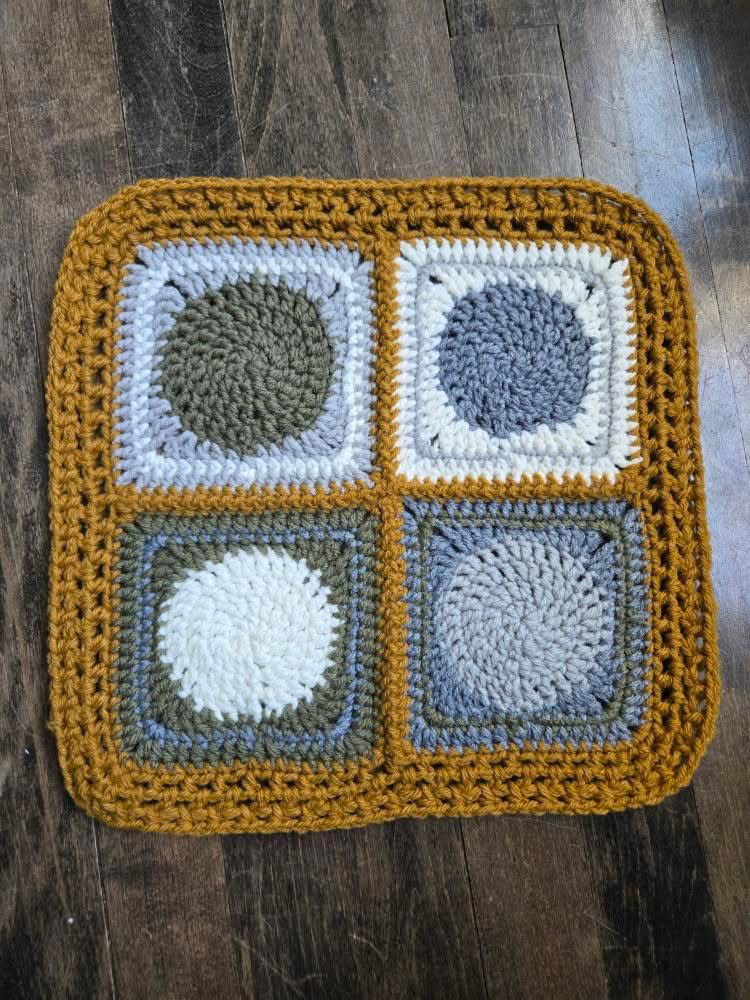
Today, I’ve got an extra special blast-from-the-past granny square design to share. This groovy granny square celebrates bold colors, playful geometry and vintage charm. Meet The Retro Circles Granny Square. Each granny square showcases a striking circle at its center, echoing the groovy aesthetic of the ’60s and ’70s while offering a modern twist.
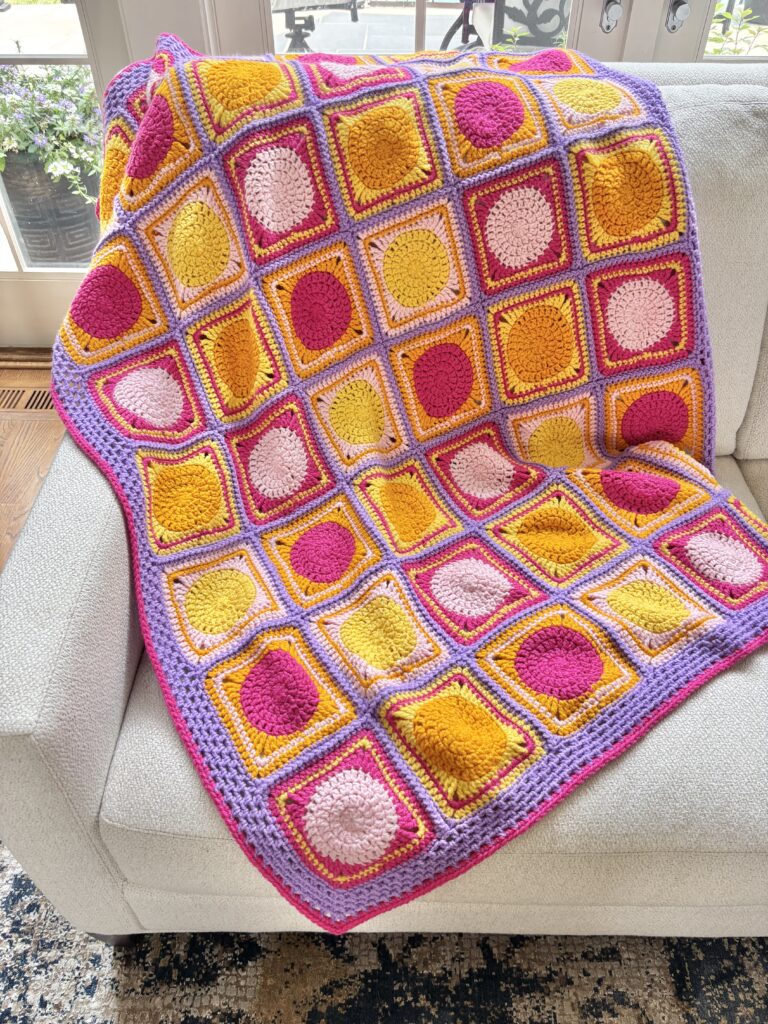
You can find the FREE granny square pattern below OR scroll to find out how you can wrap yourself in nostalgia and score the full-sized FREE Retro Circles Blanket design. This free downloadable pdf is being featured by Hobbii Yarns this month. Read on to find the link to the free download! It’s a blanket that brings a splash of joy and a whole lot of personality to any space.
If you aren’t wanting to commit to a full-sized blanket, you can try out the Retro Circles Granny Square here. Grab your most colorful yarn and let’s get going!
Don’t miss a free pattern! Subscribe to the newsletter to keep up with all the latest!
MATERIALS:
Materials needed for this little free granny square pattern will vary based on the type of yarn you choose and colors you choose. It is a great scrap buster so use up those color threads that have been hanging around! You can choose a size 4 yarn as pictured or play around with a different size. If you choose a different type of yarn, you’ll also need the corresponding hook size! I used Daily Stitch Acrylic XL for my blanket and the colors are stunning! So vibrant and SO many options to choose from. Check out the line at Hobbii Yarns!
HOOK(S): [My all-time favorite hooks are Clover Amour hooks]
5.0 mm • US size H
YARN:
Weight: Worsted
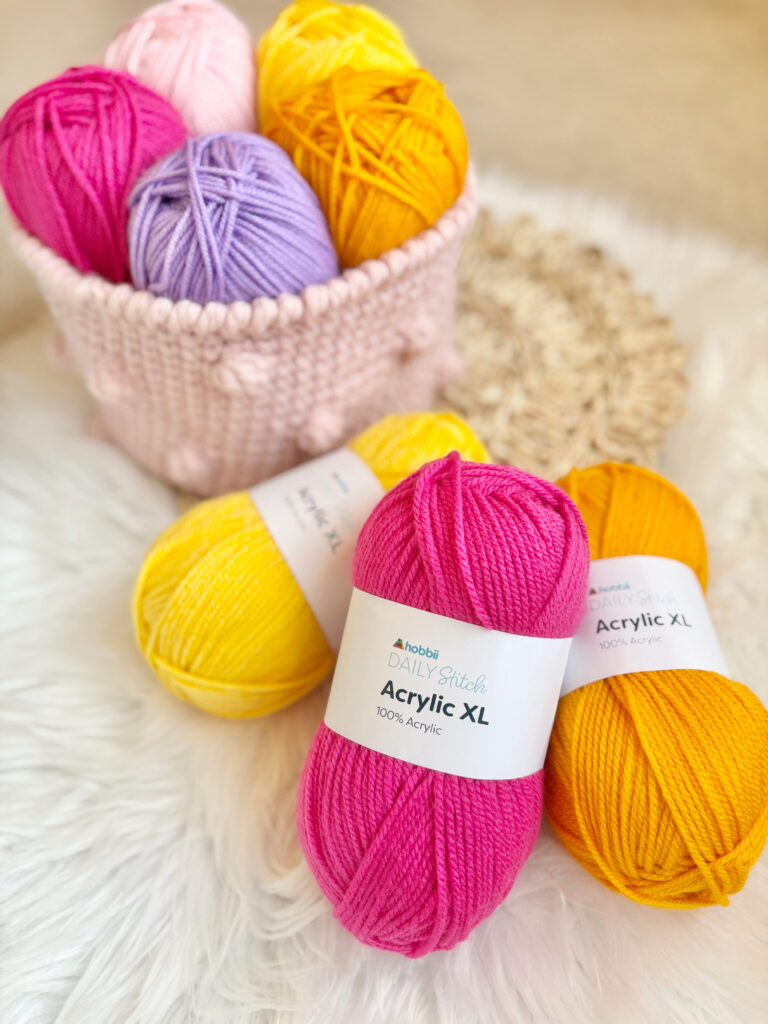
- Hobbii, Acrylic XL (using combinations of the below colors)
- Acrylic XL Eggyolk 26
- Acrylic XL Yellow 23
- Acrylic XL Lilac 32
- Acrylic XL Light Pink 30
- Acrylic XL Bubblegum Pink 31
NOTIONS
GAUGE
One unblocked circle: ~3.75” diameter
One unblocked full square: ~5.5” x 5.5”
*Gauge does not matter unless you want your final blanket to measure the exact same size as the sample.
ABBREVIATIONS
ch = chain
cjayg = continuous join as you go
dc = double crochet
hdc = half double crochet
inc = increase sts as noted
MC = magic circle
sc = single crochet
sl st = slip stitch
st(s) = stitch(es)
tr = treble crochet
( ) = place stitches within parentheses in the same stitch space
[ ] = repeat instructions within brackets x number of times indicated
SPECIAL STITCHES
CJAYG (Continuous Join As You Go):
The cjayg method is used in this pattern to join the granny squares together. This method uses crochet stitches to join the squares rather than sewing them together. This is used in the blanket pattern. Scroll to the bottom to find the free downloadable pdf on Hobbii!
INCREASE STITCHES (inc):
To increase stitches, place two stitches into the same spot to increase the total stitch count and allow the shape to become wider. In this pattern, increase stitches are used with dc stitch. To do this, complete your first stitch as you typically would. Place a second stitch in the same spot, so that you are left with two stitches where previously you had one stitch.
INVISIBLE FASTEN OFF: This technique creates a mock stitch, rather than a slip stitch and tie off, to prevent the unsightly knots at the end of your work. See this tutorial.
PATTERN
The granny squares are worked in three main colors – Color A, Color B and Color C. If you are making the full sized blanket, these colors will correlate specifically to the combo that you are working on.
Color A is used on the circle. Color B is used on the fill and edging. Color C is used on the line.
Use a 5.0 mm hook to create the granny squares.
Begin with Color A.
Remember:
( ) = place stitches within parentheses in the same stitch space
[ ] = repeat instructions within brackets x number of times indicated
Round 1: Make a magic circle (MC). Ch 1. 8 dc in MC. Sl st and join to the first dc. {8}
Round 2: Ch 3 (counts as the first dc), dc in the same st as the ch. [dc inc] in each st around. Sl st and join to the top of the ch 3. {16}
Round 3: Ch 3 (counts as the first dc), dc in the same st as the ch. In the next st, dc. Then, [dc inc, dc] around. Sl st and join to the top of the ch 3. {24}
Round 4: Ch 3 (counts as the first dc), dc in the same st as the ch. Then, dc in each of the next 2 sts. [dc inc, dc x 2] around. Sl st and join to the top of the ch 3. {32}
Cut and fasten off Color A and pick up Color B.
Round 5: Join Color B in the last st of round 4. Ch 1, sc x 2, (hdc, dc), (dc, tr), ch 2, (tr, dc), (dc, hdc), [sc x 4, (hdc, dc), (dc, tr), ch 2, (tr, dc), (dc, hdc)] x 3. Sc x 2. Sl st and join to the first st. {48}
Drop Color B (but do not fasten off) and pick up Color C.
Round 6: Join Color C in the last st of round 5. Ch 1, sc x 6, (3 sc) in the corner space, [sc x 12, (3 sc) in the corner space] x 3. Sc x 6. Sl st and join to the first st. {60}
Cut and fasten off Color C and pick up Color B.
Round 7: Join Color B in the last st of round 6. Ch 1, hdc x 7, (2 hdc), ch 1, (2 hdc), [hdc x 13, (2 hdc), ch 1, (2 hdc)] x 3, hdc x 6. Cut Color B and use the invisible fasten off to finish the square. Weave in all ends. {68}
Need help making your granny square? Check out this video tutorial.
Now…the age old question…to block or not to block!? If you are unfamiliar with the term, blocking is a method to even out the spacing and tension of your stitches in a project. It can be helpful in granny square projects to make sure that all squares are the same size! With these “circle-squares” you may notice that the center seems to curl up a bit. Blocking will help with that! You can choose to block the individual squares on a blocking board or use a larger blocking mat with blocking pins, if you prefer to wait and block your entire project. Click here to find my preferred blocking board and blocking pins. For a larger blanket, I actually prefer to use a toddler mattress for blocking rather than a mat!


RETRO CIRCLES BLANKET PATTERN
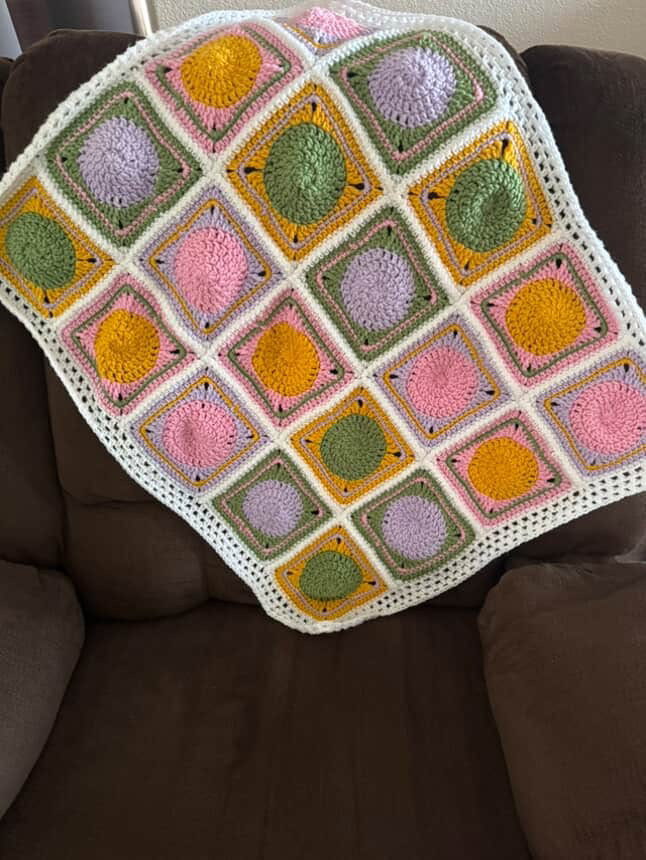
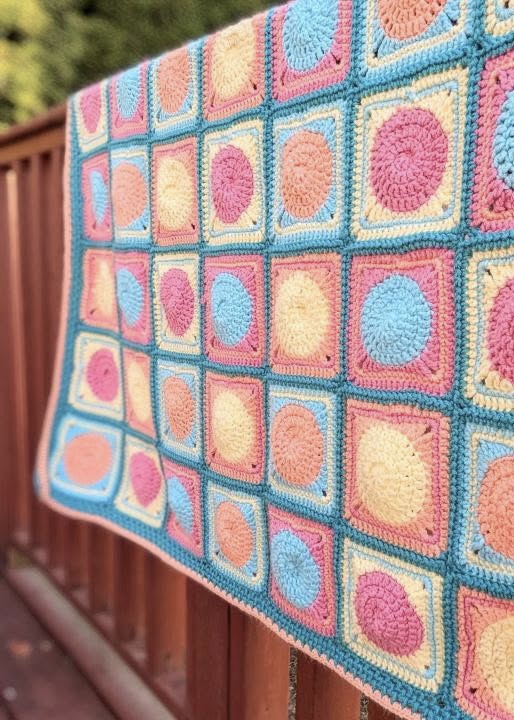
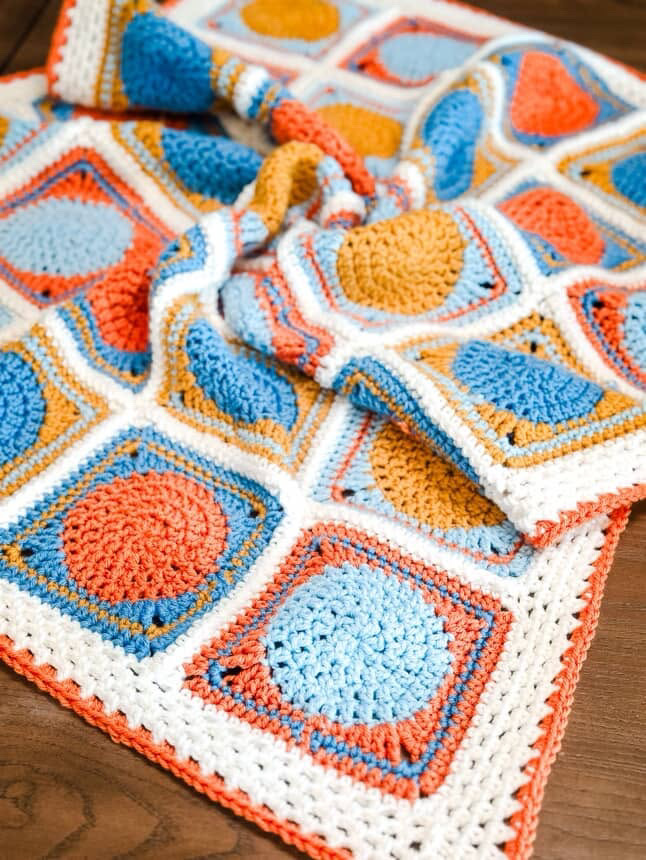
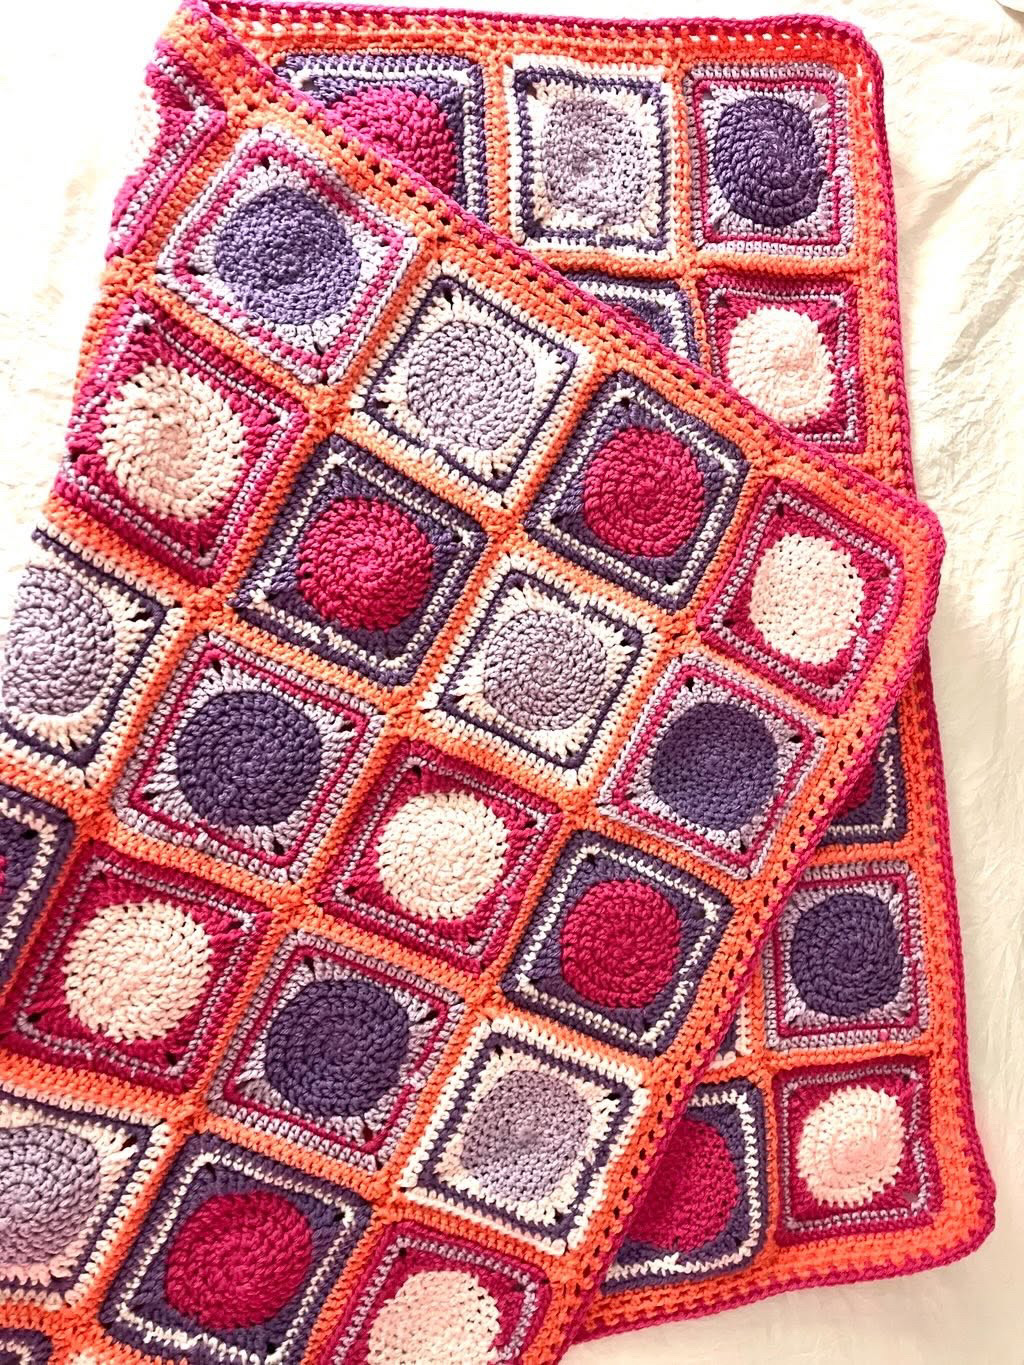
If you are ready to take on a granny square challenge, then let’s move on to the Retro Circles Blanket design! This full sized blanket measures about 39″ x 52″ however, the size is entirely customizable! The featured blanket design is 6 squares by 8 squares. The total number of squares can easily be adjusted to make a larger throw or a smaller blanket or lovey size! The pattern is being offered as a FREE downloadable pdf from Hobbii Yarn. Click the image below to grab your copy!


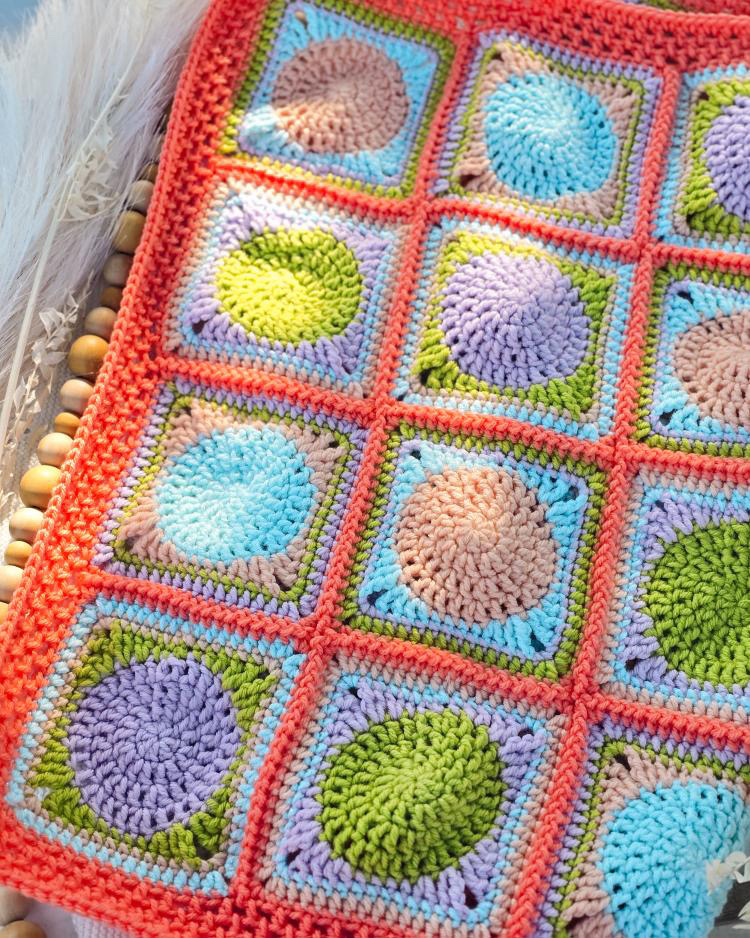
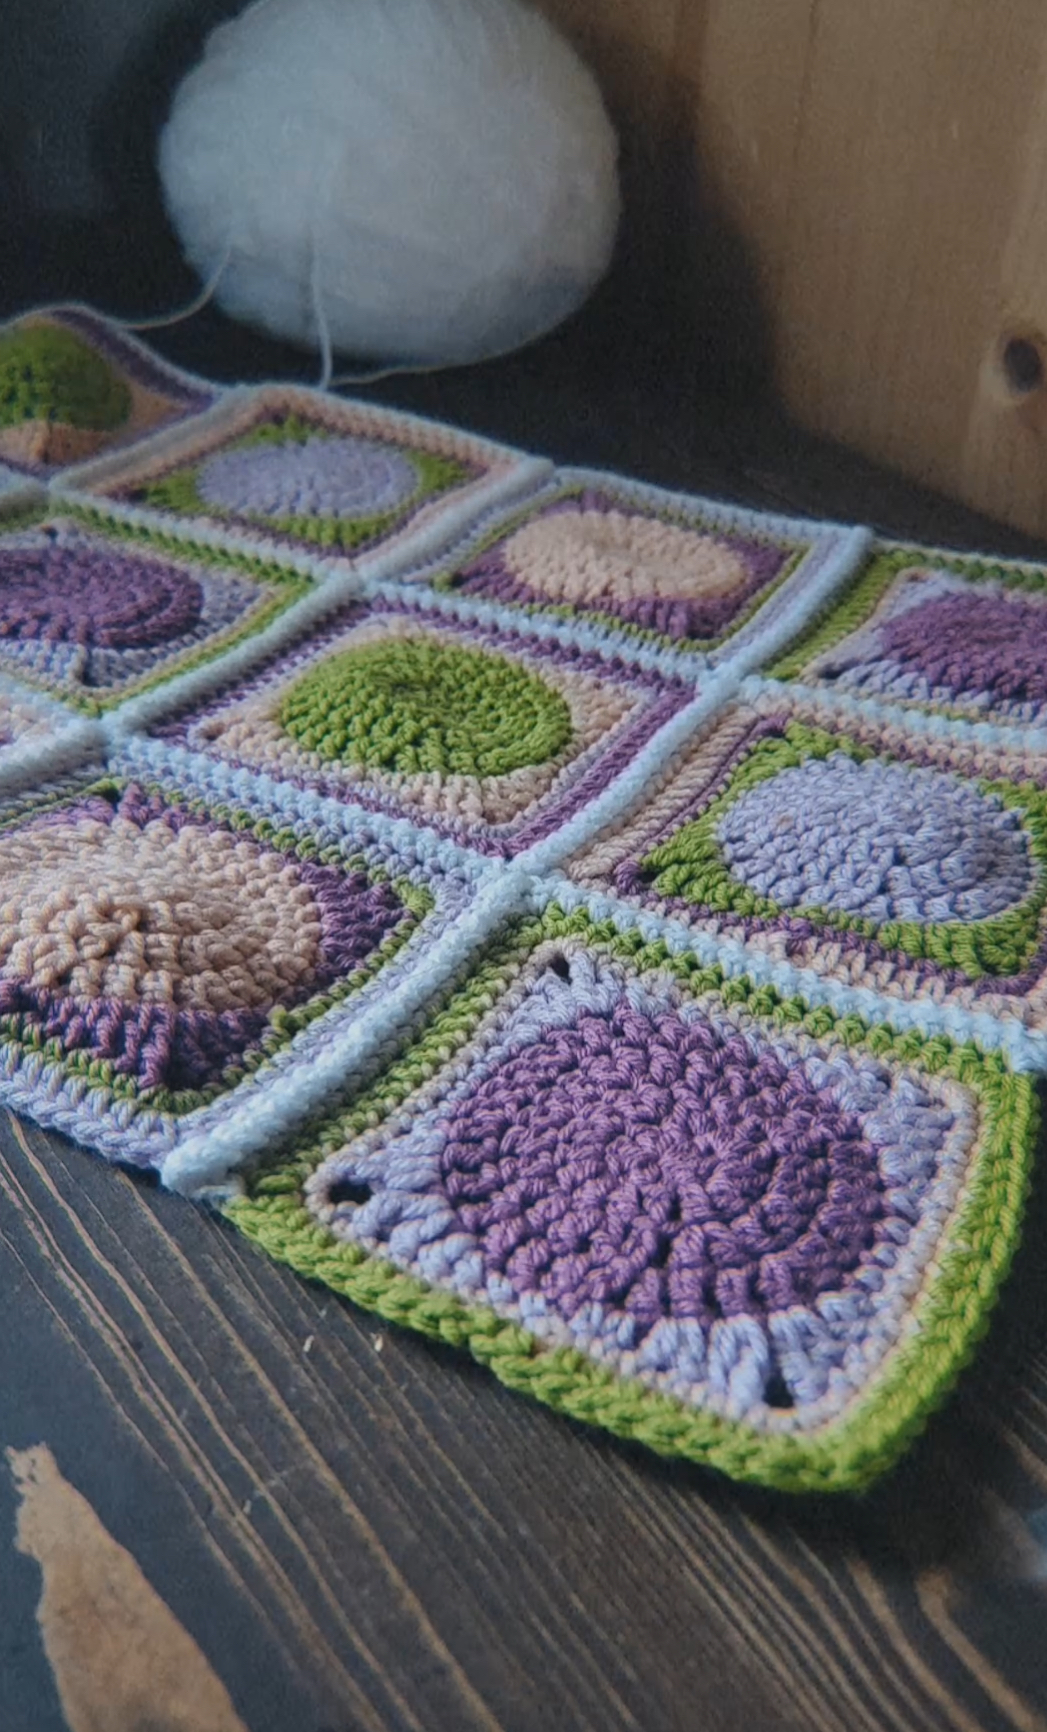
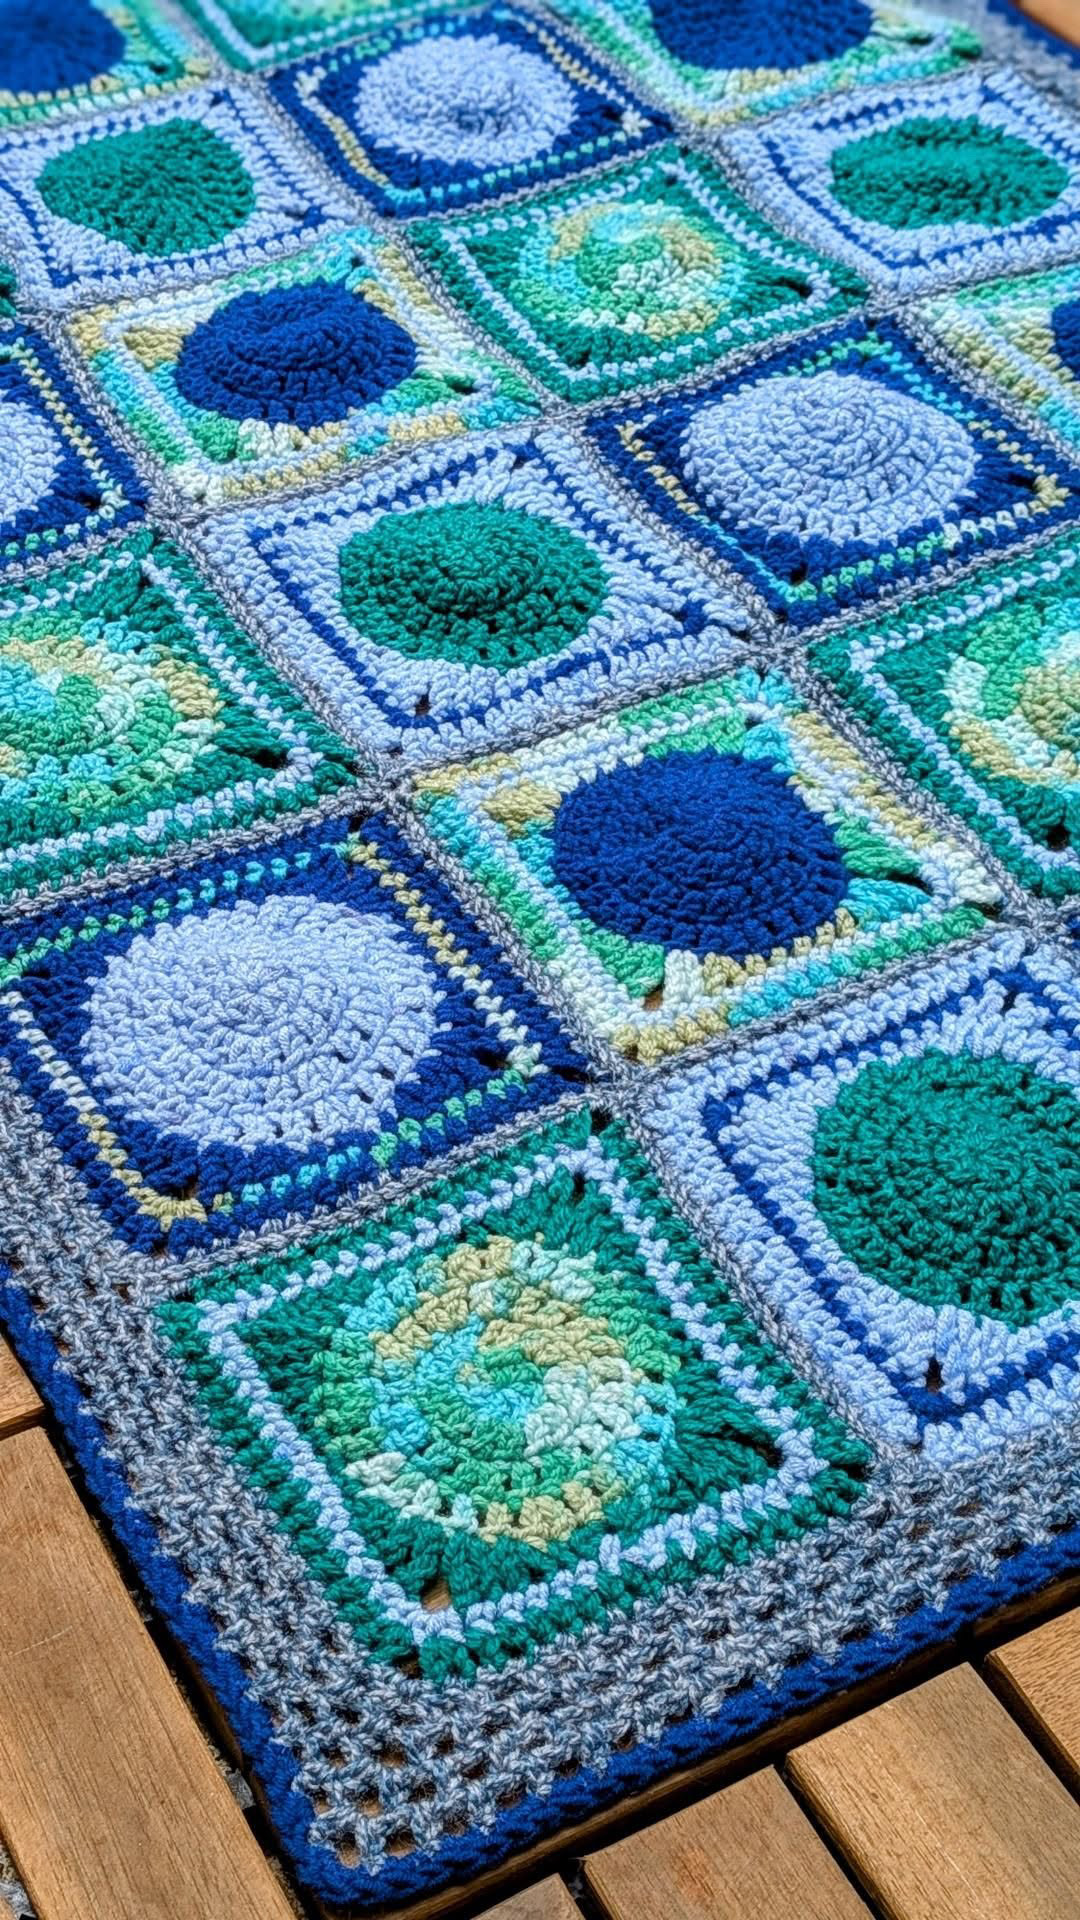
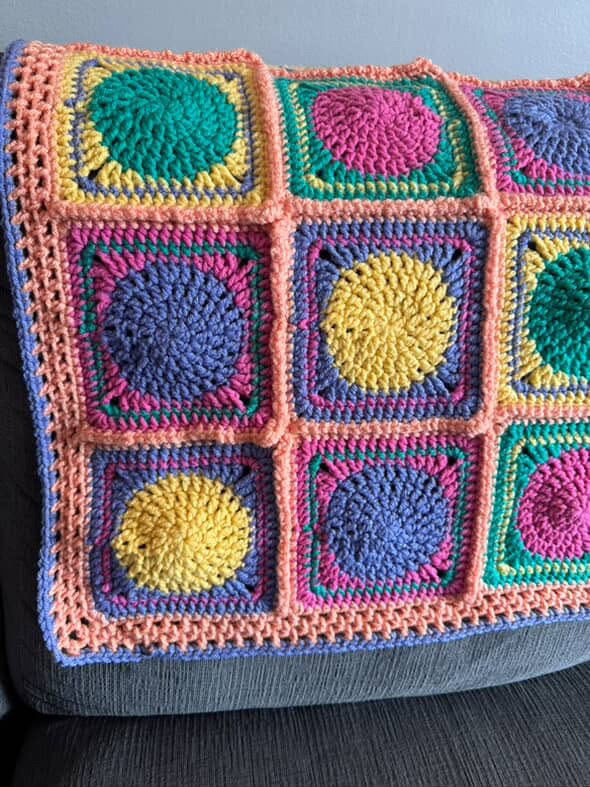
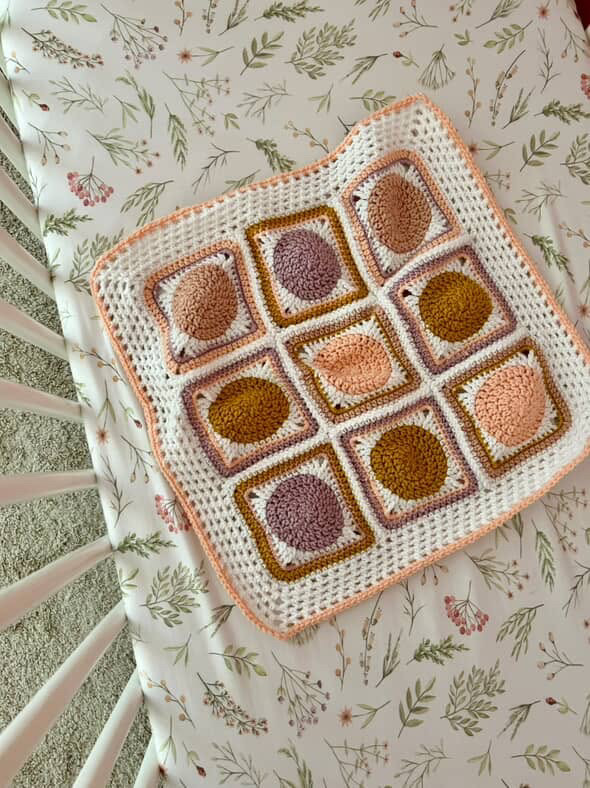
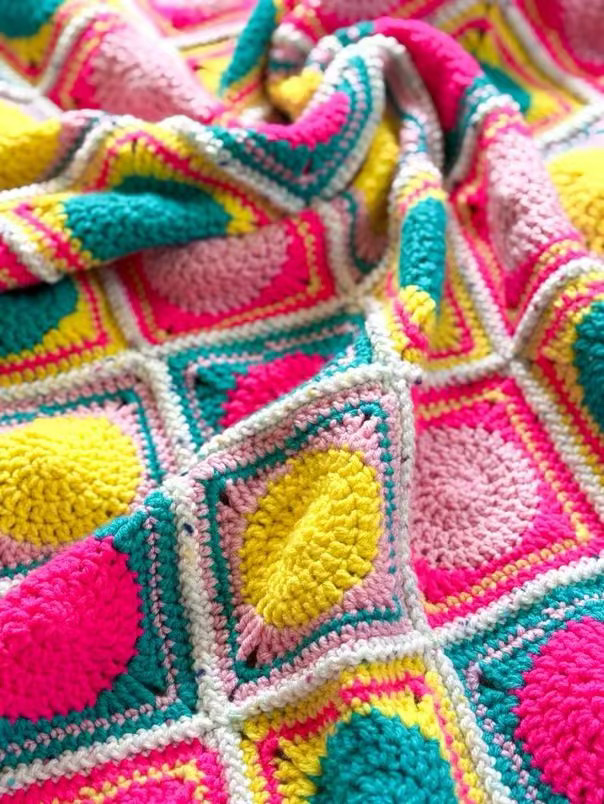
Need some inspo? I’ve got you! I had the most amazing group of testers who chose the most beautiful colors to design their blankets. Scroll through the collection and be sure to follow along with each of these lovely makers! And if you make your own blanket, be sure to share!


Love this retro circle square! Can’t wait to make a blanket!
Thanks Shannen!!