How To Crochet the Loop Stitch
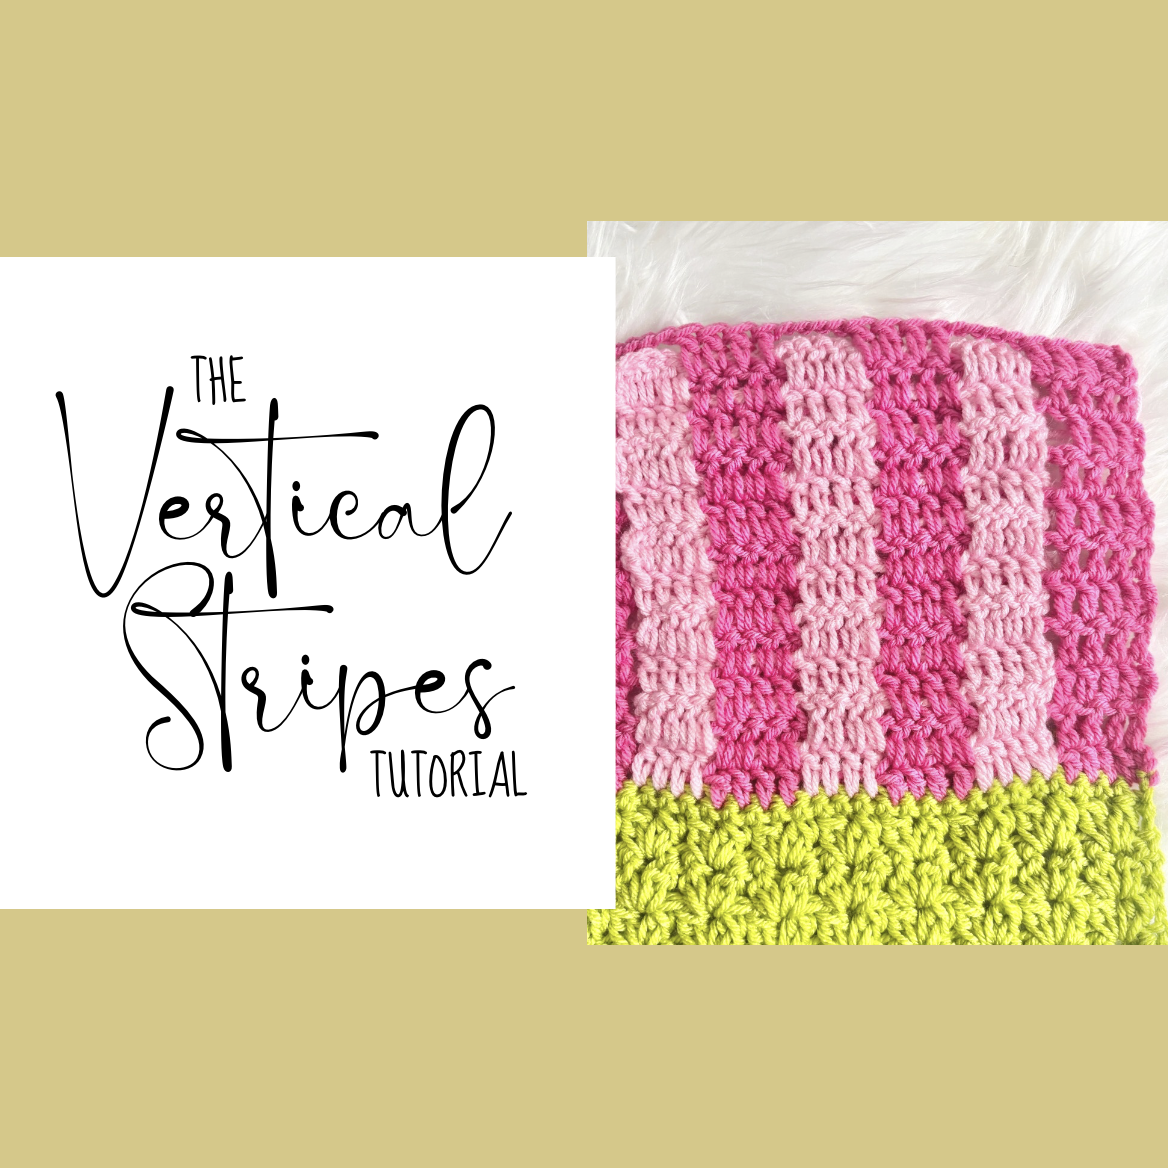
Ever wondered how you can add texture to your crochet project? The loop stitch is an intimidating stitch to get started with, but can be simple and rhythmic once you get the hang of it! The stitch turns simple projects into textured masterpieces!
When I first started using the loop stitch, I had trouble getting my loops to “stick.” I spent so long figuring out the stitch and how to get the hang of it, but then my stitches all came loose in my project even though I thought I had it down! I now use the method I am sharing below and it really helps to lock my stitches into place!
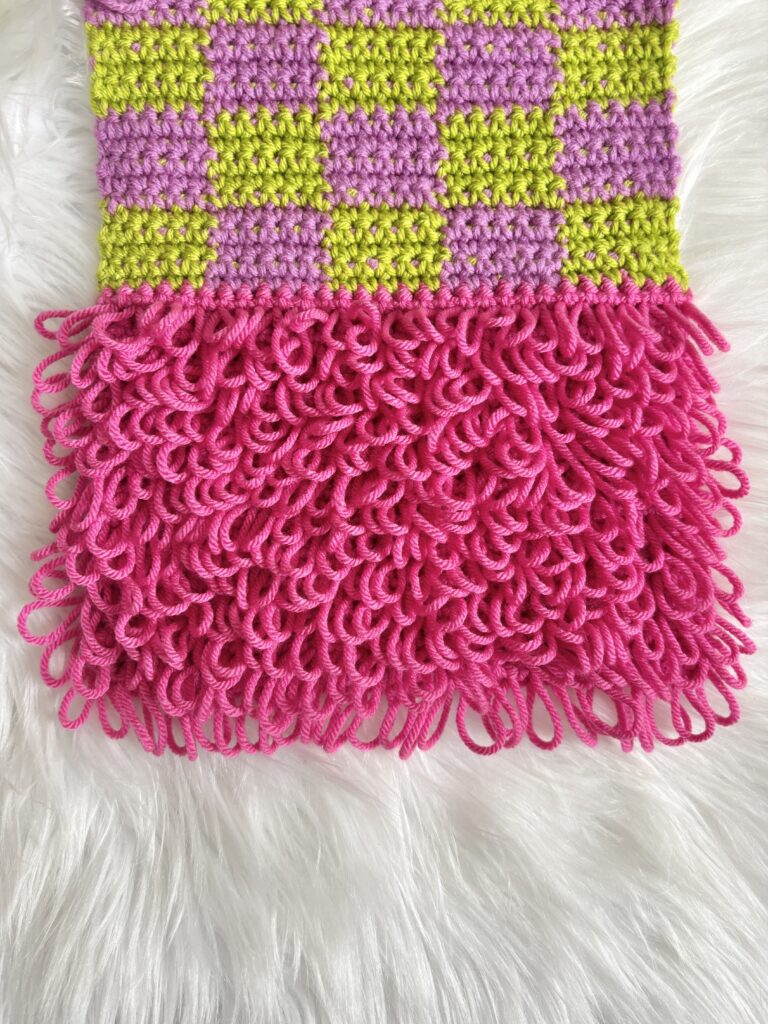
The loop stitch is used in the beginning Block One of The Stitchwork Scarf. Learn each of the stitches included in this whimsical scarf design by checking out the stitch-a-long HERE! If you are looking for the Block One video tutorial, check it out HERE or scroll down for photo tutorials and a prior video tutorial! !
Don’t miss a free pattern! Subscribe to the
newsletter to keep up with all the latest!
To work the loop stitch, follow the steps below to create the stitch and ‘lock in’ the loop. The loops are worked on the front side of the work when you have the wrong side of the work facing up. This means the loops are worked away from you.


If you need more help, check out the full video tutorial here!
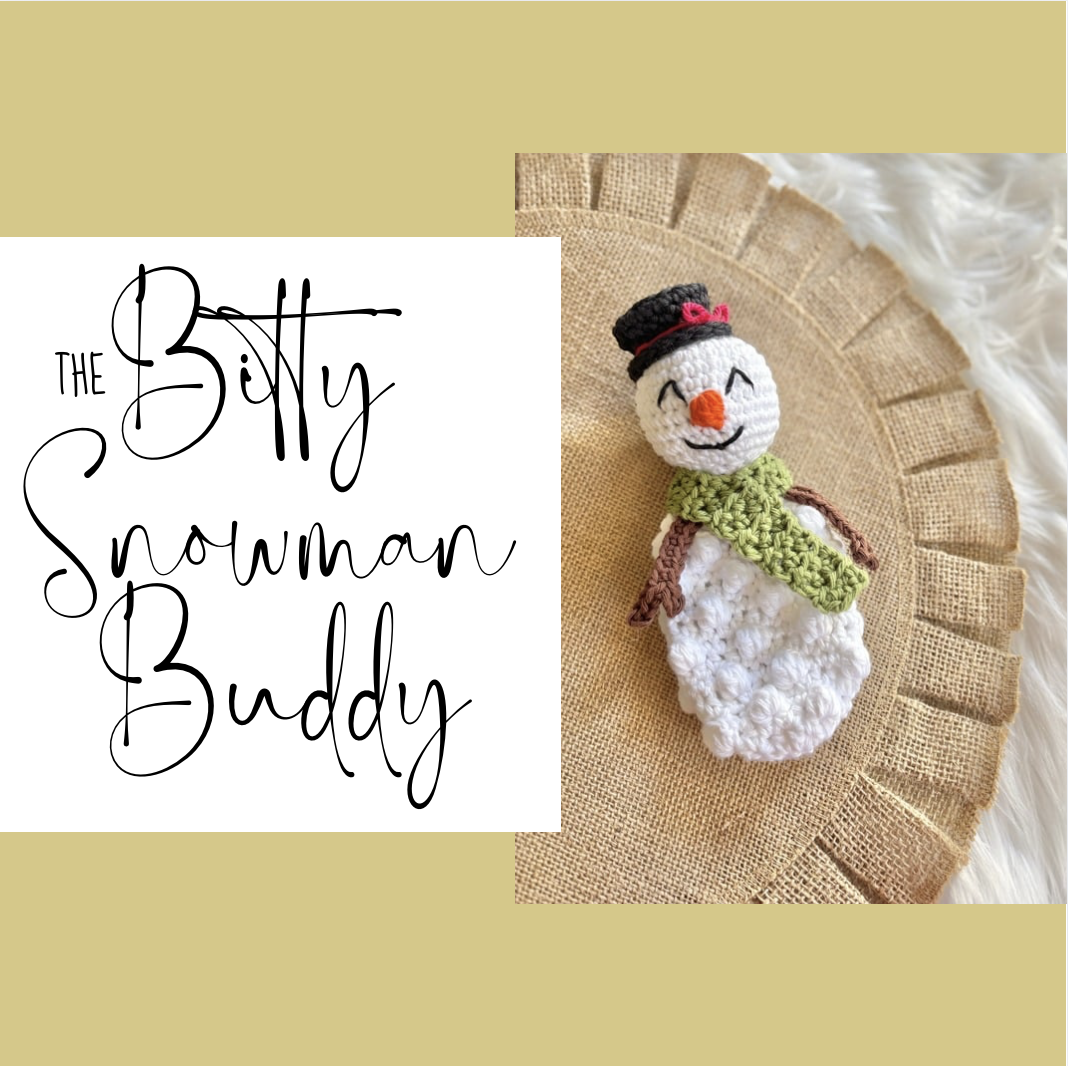
If you are looking for a couple of new projects to try out the loop stitch, check out my Loopy Llama Bobble Buddy and Shaggy Cactus Pillow! Both are fun, versatile patterns with this great loopy texture!

Thanks so much for following along with me. I can’t wait to see your loop stitch projects and feel free to share and tag me on Instagram @_stuckonyoucrochet_ .